Clearing the Site Before Your Container Arrives | A Practical Site-Preparation Guide
Published 9 Dec 2025 · Updated 2 Sept 2026
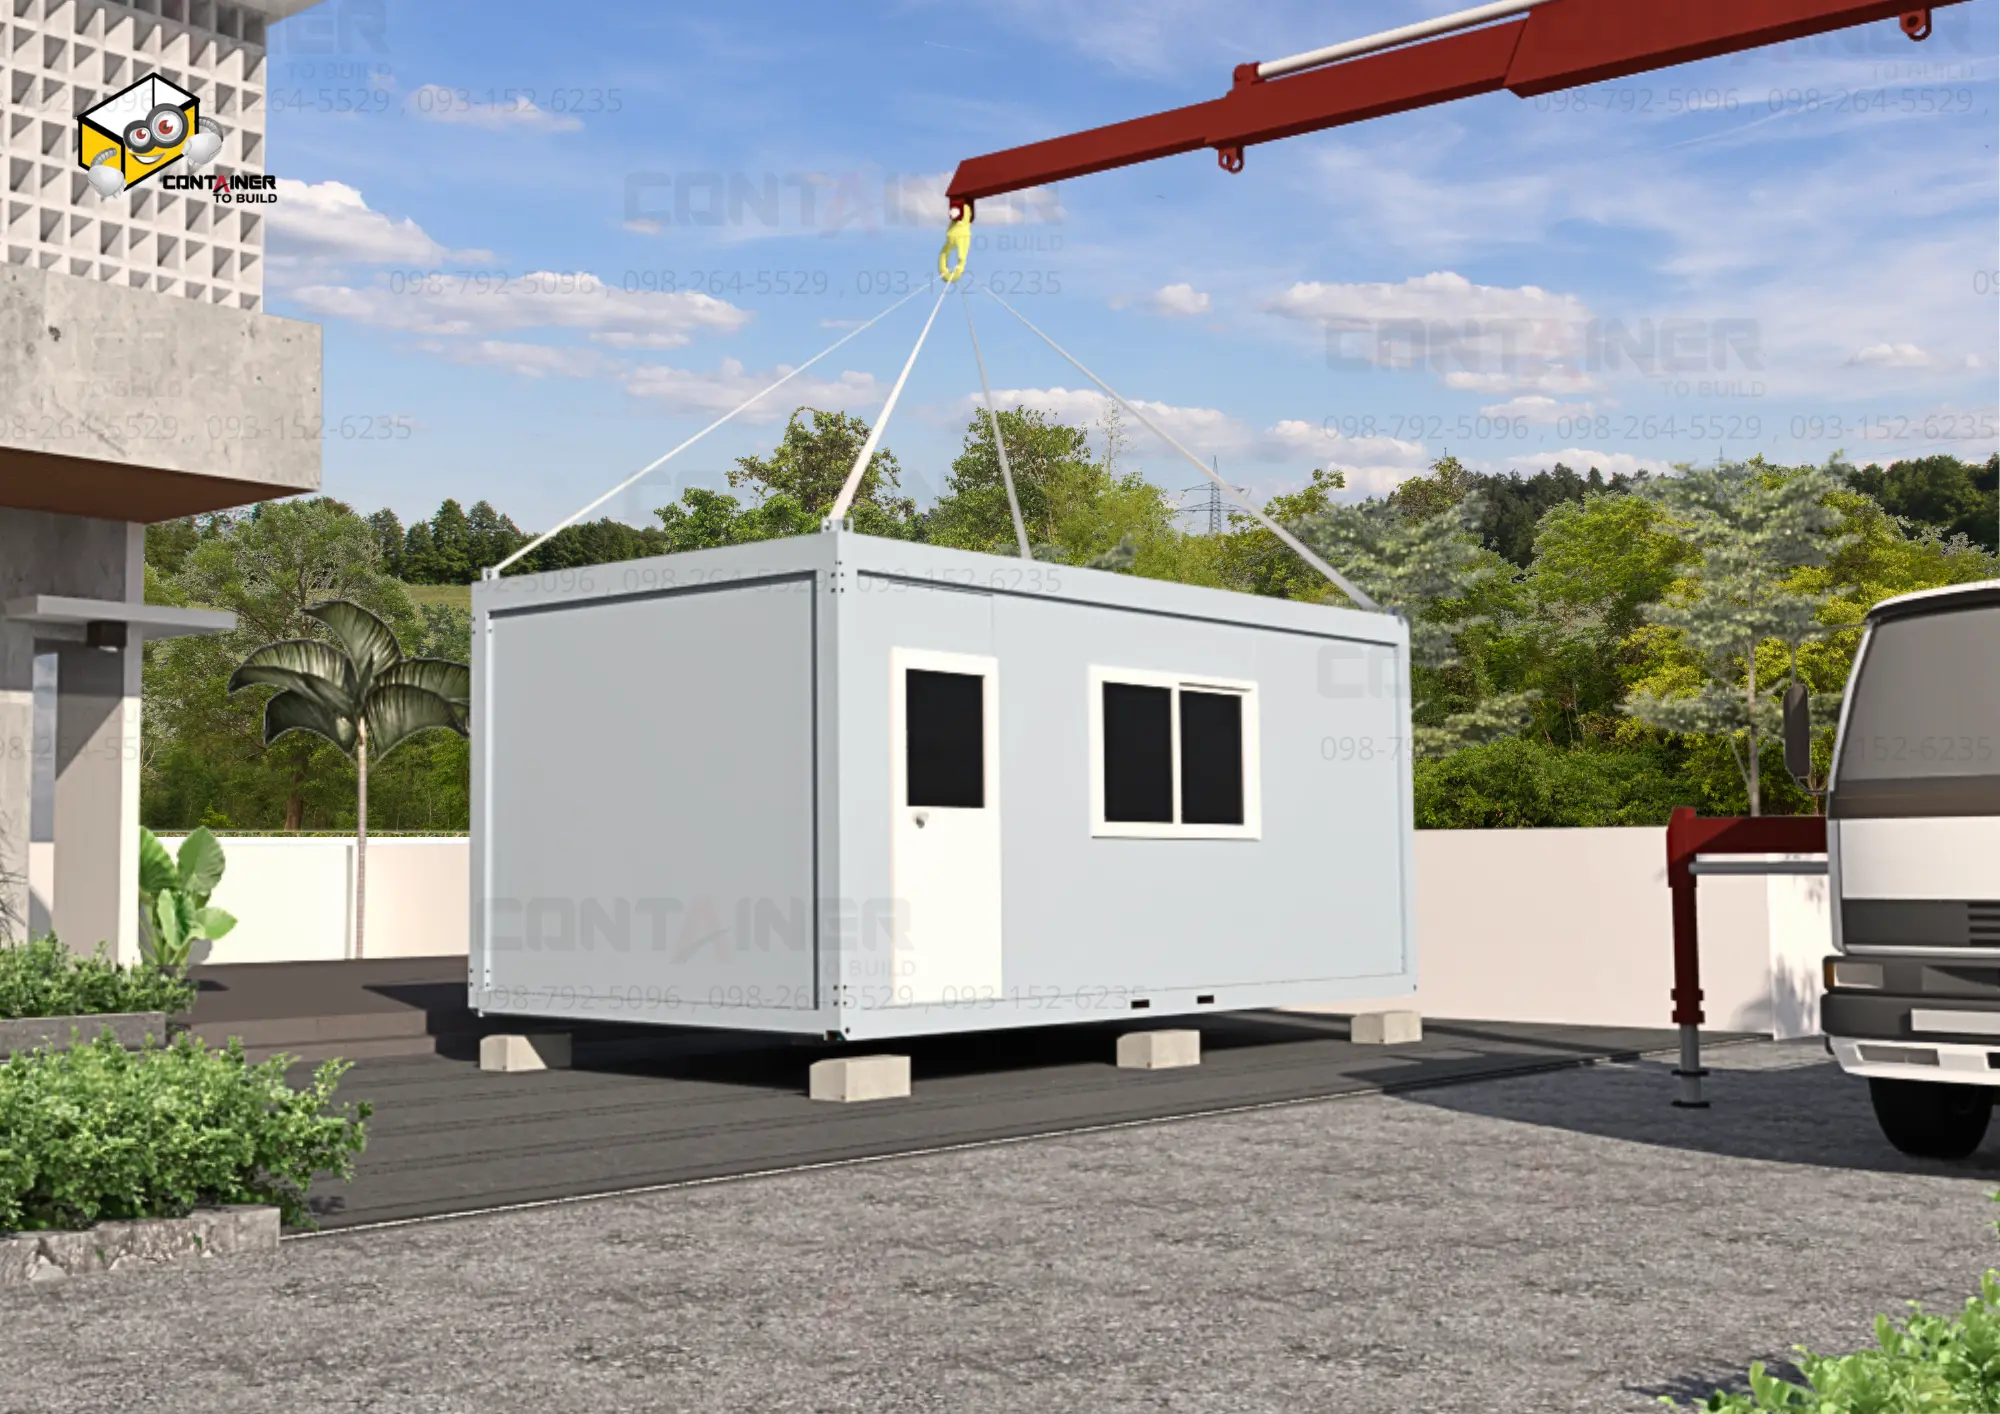
A container that sits safe, level, dry and lasts for years doesn’t depend on the quality of the unit alone — the most important factor is the ground beneath it.
With the site ready, installation is faster and safer, and long-term problems drop by more than 70%.
This article walks through every step to prepare before the unit arrives — easy to follow, so you can check your own site right away.
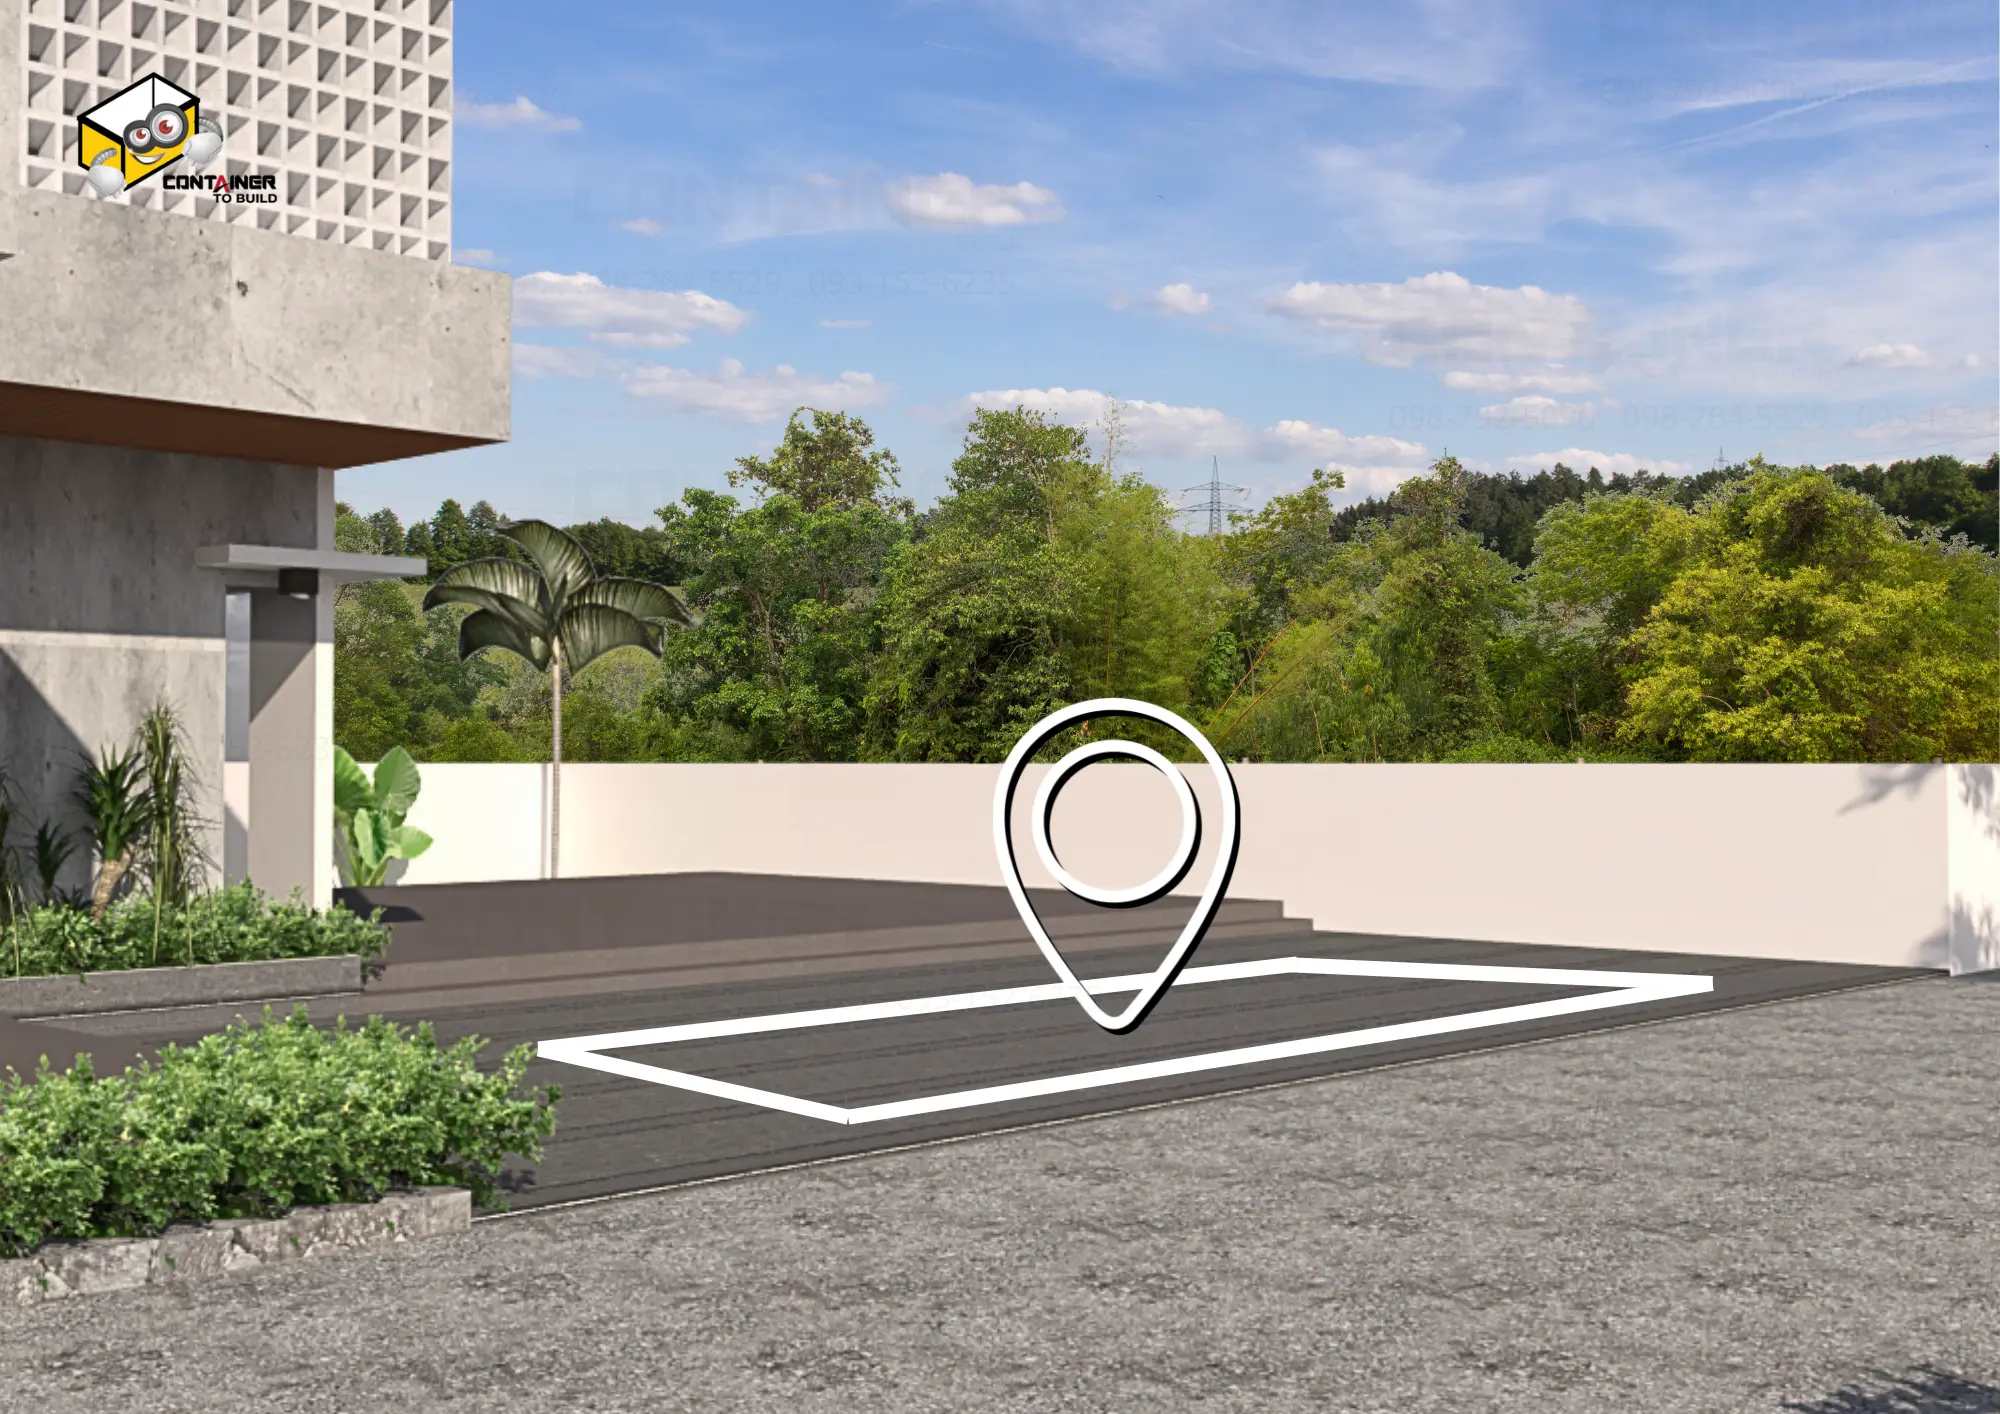
✅ 1. Check the actual site dimensions
Before placing the unit, know how big the area is and whether it truly works.
The basics:
✔ the ground must be at least 50 cm wider than the unit on every side
✔ with room for the crane truck to turn and lift.
Example
- Containers of 3×6 m → you should have at least 4×7 m
- For multiple units,allow clearancefor joining units and walkways around them.
👉 Tip: send a wide-angle photo to our sales team for an initial assessment of risks and readiness.
✅ 2. Check access for the crane / lifting truck
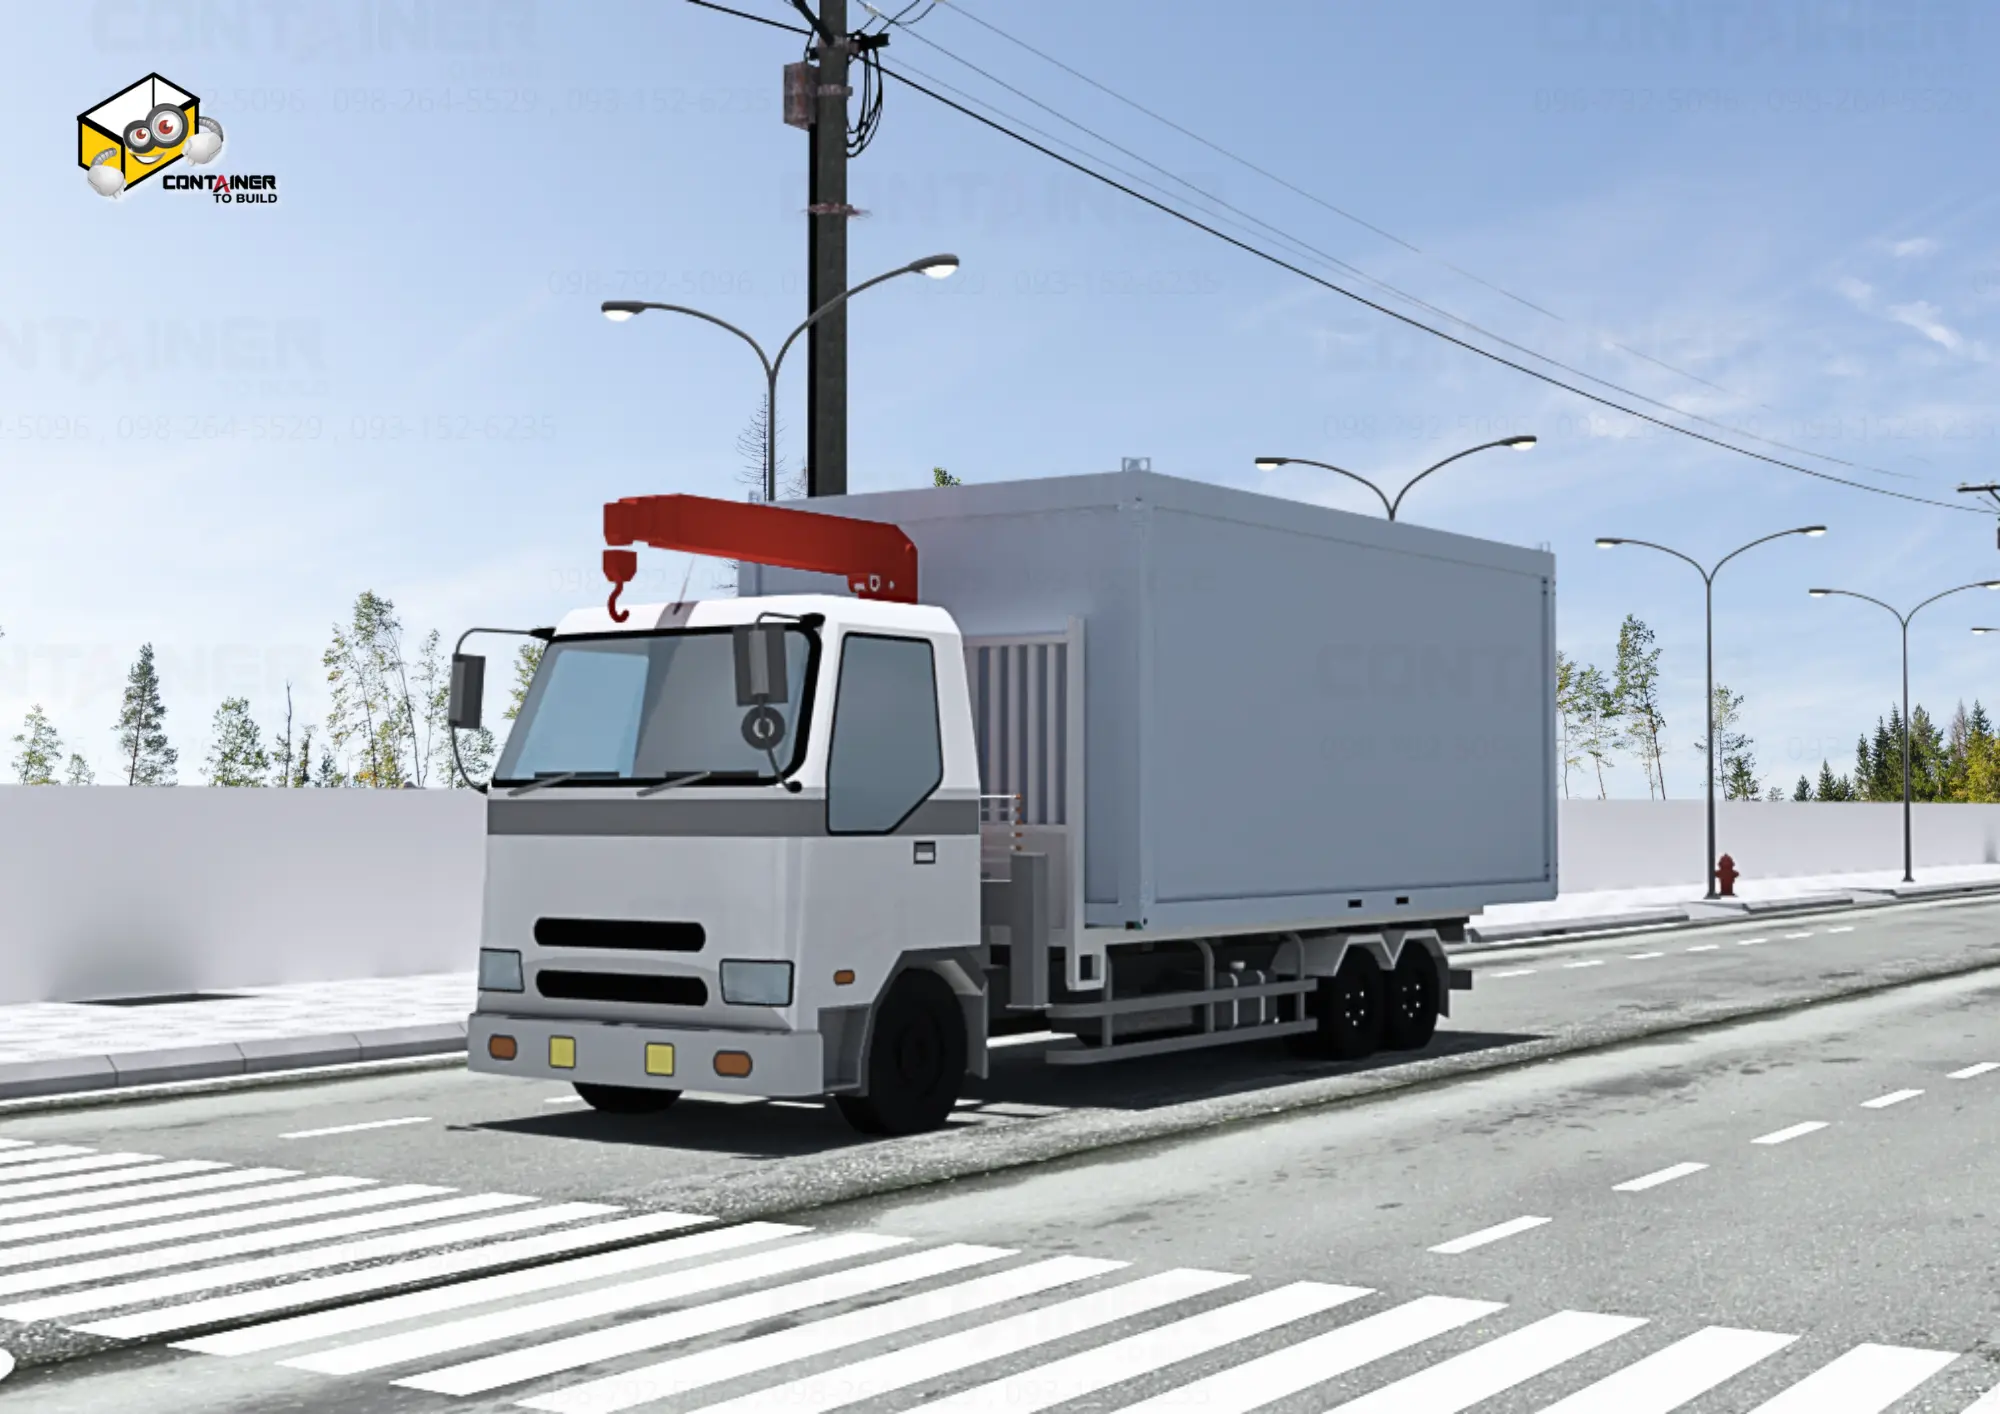
Even if the site itself is big enough, if the truck can’t get in, the unit can’t be placed.
What to check:
- the road should be at least 3 m wide
- with no low power lines or branches in the way.
- If the unit must be lifted over a wall, tell the company in advance.
- For very narrow access, a long-boom crane truck (Hiab) may be needed.
✅ 3. Clear and level the ground so it bears the load
Before placement, confirm that the ground won’t subside and can bear the weight.
Good ground means:
- no holes, no mud
- firm soil with no settlement
- slope no more than 3–5 degrees.
Unsuitable ground:
- loose sand
- silt or waterlogged ground
- areas with constant water flow.
✅ 4. Choose the support: compacted soil / footings / concrete slab
There are 3 ways to set the unit, depending on budget and use.
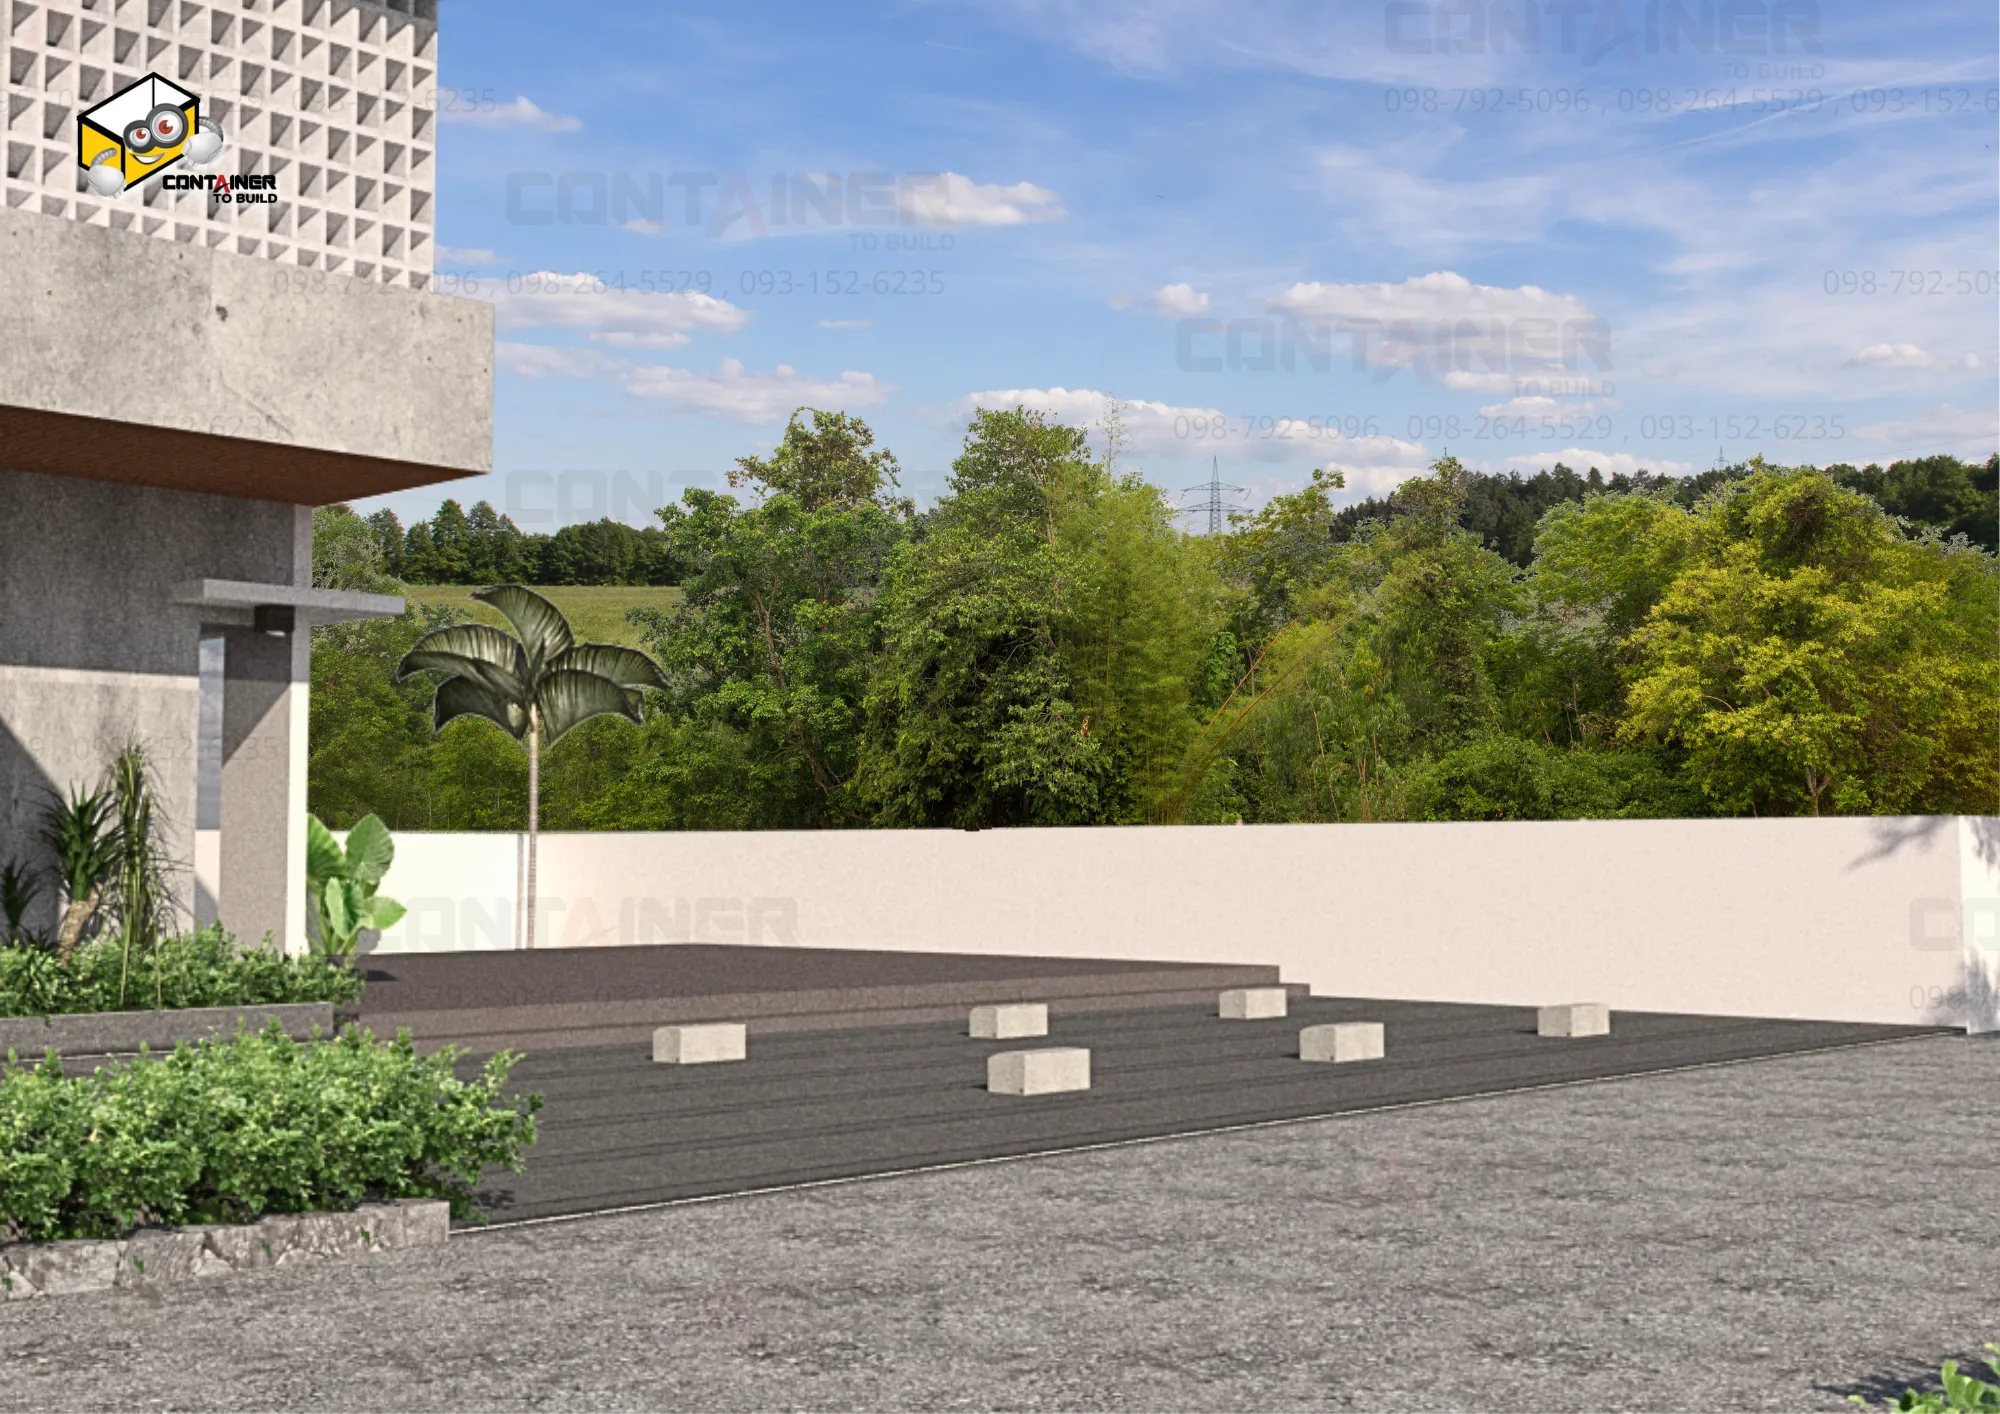
Option 1: compacted soil + pads (cheapest)
For temporary use — a storage unit or a short-term site.
- What to do:
- compact the soil firmly
- and place concrete pads under all 4 corners.
- What to do:
Option 2: set on footings (most recommended)
Benefits:
- keeps out damp and standing water
- reduces corrosion from below
- easy to relocate later.
Best for:
- office units
- worker accommodation units
- storage units.
- Knock-down houses
Recommended number of footings:
- 3×6 m unit → 4–6 footings.
Option 3: full concrete slab (for permanent use)
Best for:
- shops
- a main office
- a permanent home.
Benefits:
- The strongest option
- precise levelling
- and minimal long-term tilting.
✅ 5. Sort out the drainage
The most common post-installation problem is standing water — deal with drainage before the unit arrives.
What to do:
- cut drainage channels away from the area
- raise the ground above road level
- and in flood-prone areas use tall footings of 30–50 cm.
✅ 6. Clear obstructions before installation day
Before the truck arrives, clear away:
- debris, brick, stone, timber
- trees or weeds
- tanks and underground water pipes
- anything that could tilt the unit, such as lumps of mortar.
✅ 7. Prepare power and water (for units with a bathroom)
You will need:
- a mains connection / main breaker box
- a ½–1 inch water supply pipe
- a drain pipe (ideally with a catch pit).
🎯 Summary: a ready site = easy, safe installation and a long life
What good preparation buys you:
- faster installation
- lower risk of tilting
- no leaks, damp or standing water
- and years added to the unit’s life.
☎ Contact Container To Build
Thailand’s leading hub for containers and knock-down houses for over 25 years
High-quality materials, Japanese innovation, PU foam insulation